Hello, everyone! Welcome back to Tricks Nation. In today’s article, I’m going to share a step-by-step guide for creating and setting up an Ubuntu Droplet on Digital Ocean. So, if you are looking for the same, then continue reading this post.
How To Create Droplet on Digital Ocean
DigitalOcean is a popular cloud hosting platform that offers “Droplets,” which are virtual private servers that developers and businesses can utilize to run their applications and websites. Setting up a Droplet on DigitalOcean is straightforward and beginner-friendly. Here’s a step-by-step guide on how to do it.
Step 1: Sign Up/Login
If you’re new to DigitalOcean, start by signing up for an account. It’s easy; Go to their website and follow the registration process. For those of you who already have an account, log in with your existing credentials.
Step 2: Access the Dashboard
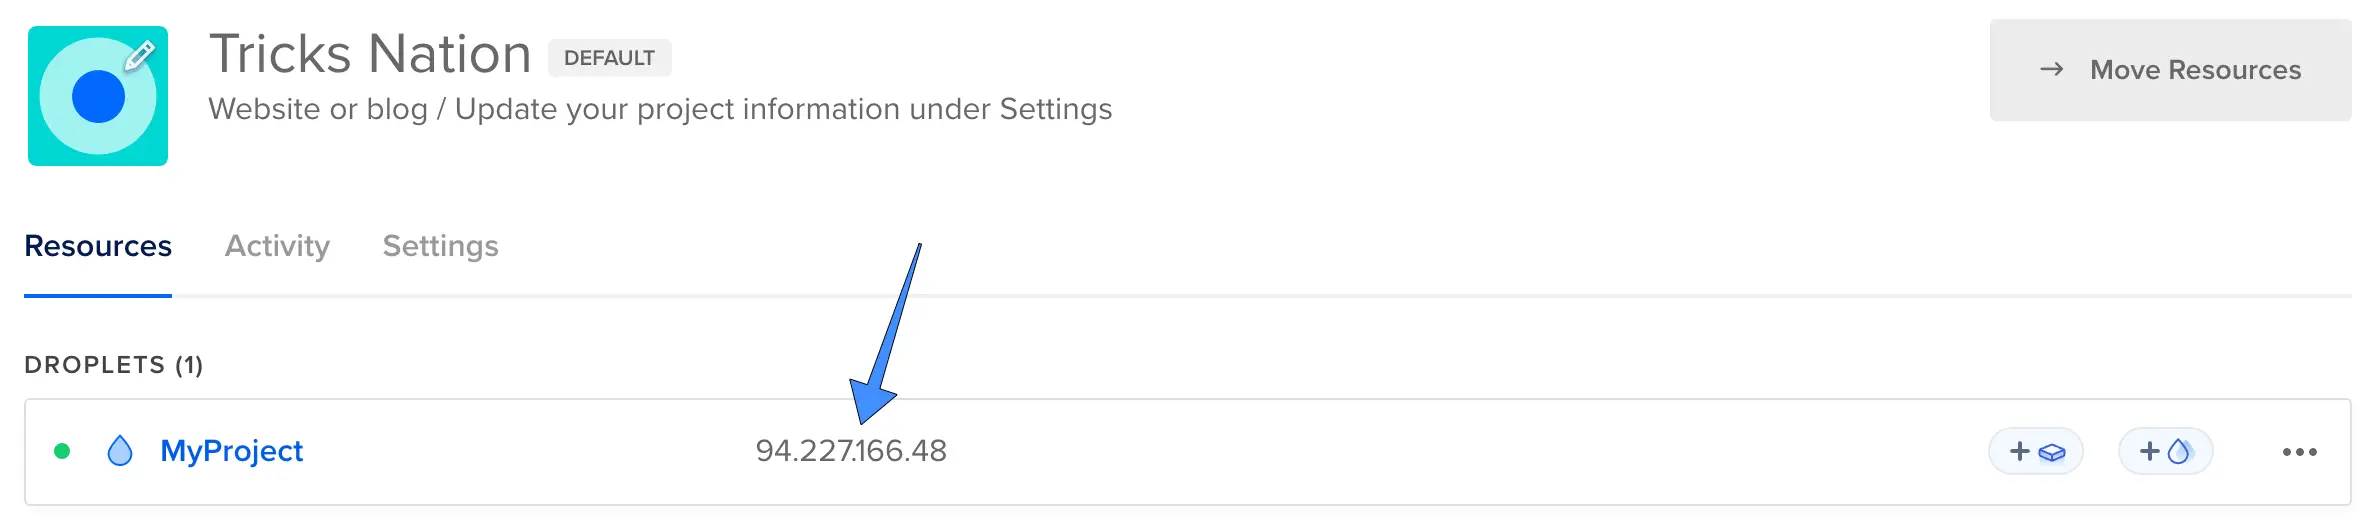
Once logged in, you’ll find yourself on the dashboard. This is the main control panel where you can see all your resources.
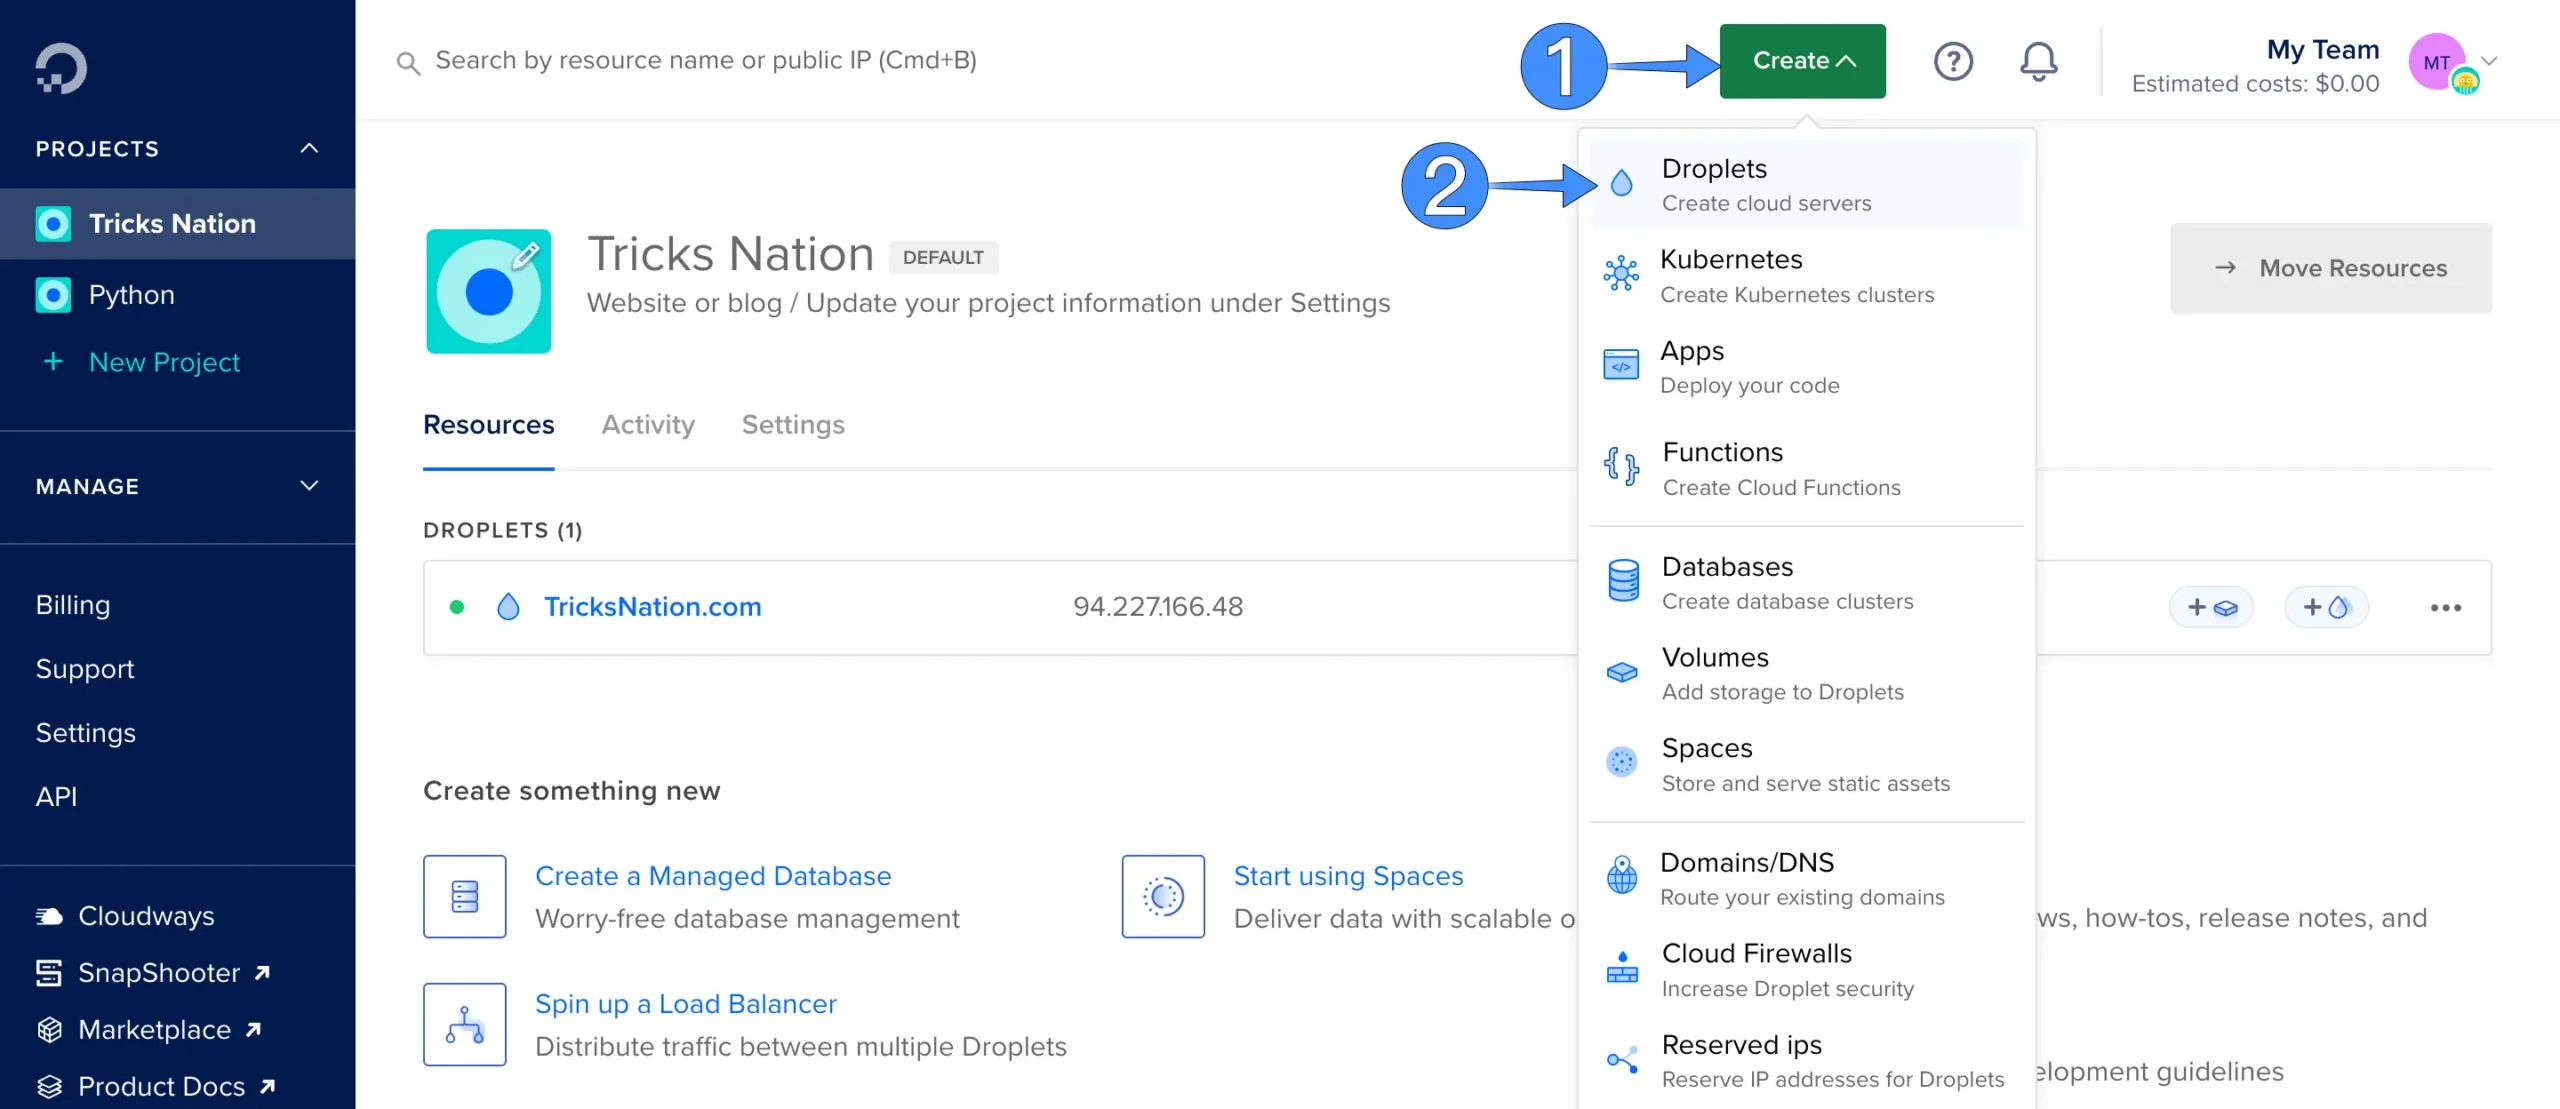
Step 3: Create A Droplet
On the top right corner, there’s a green “Create” button. Click on it, and a dropdown menu will appear. From the dropdown menu, select Droplets.
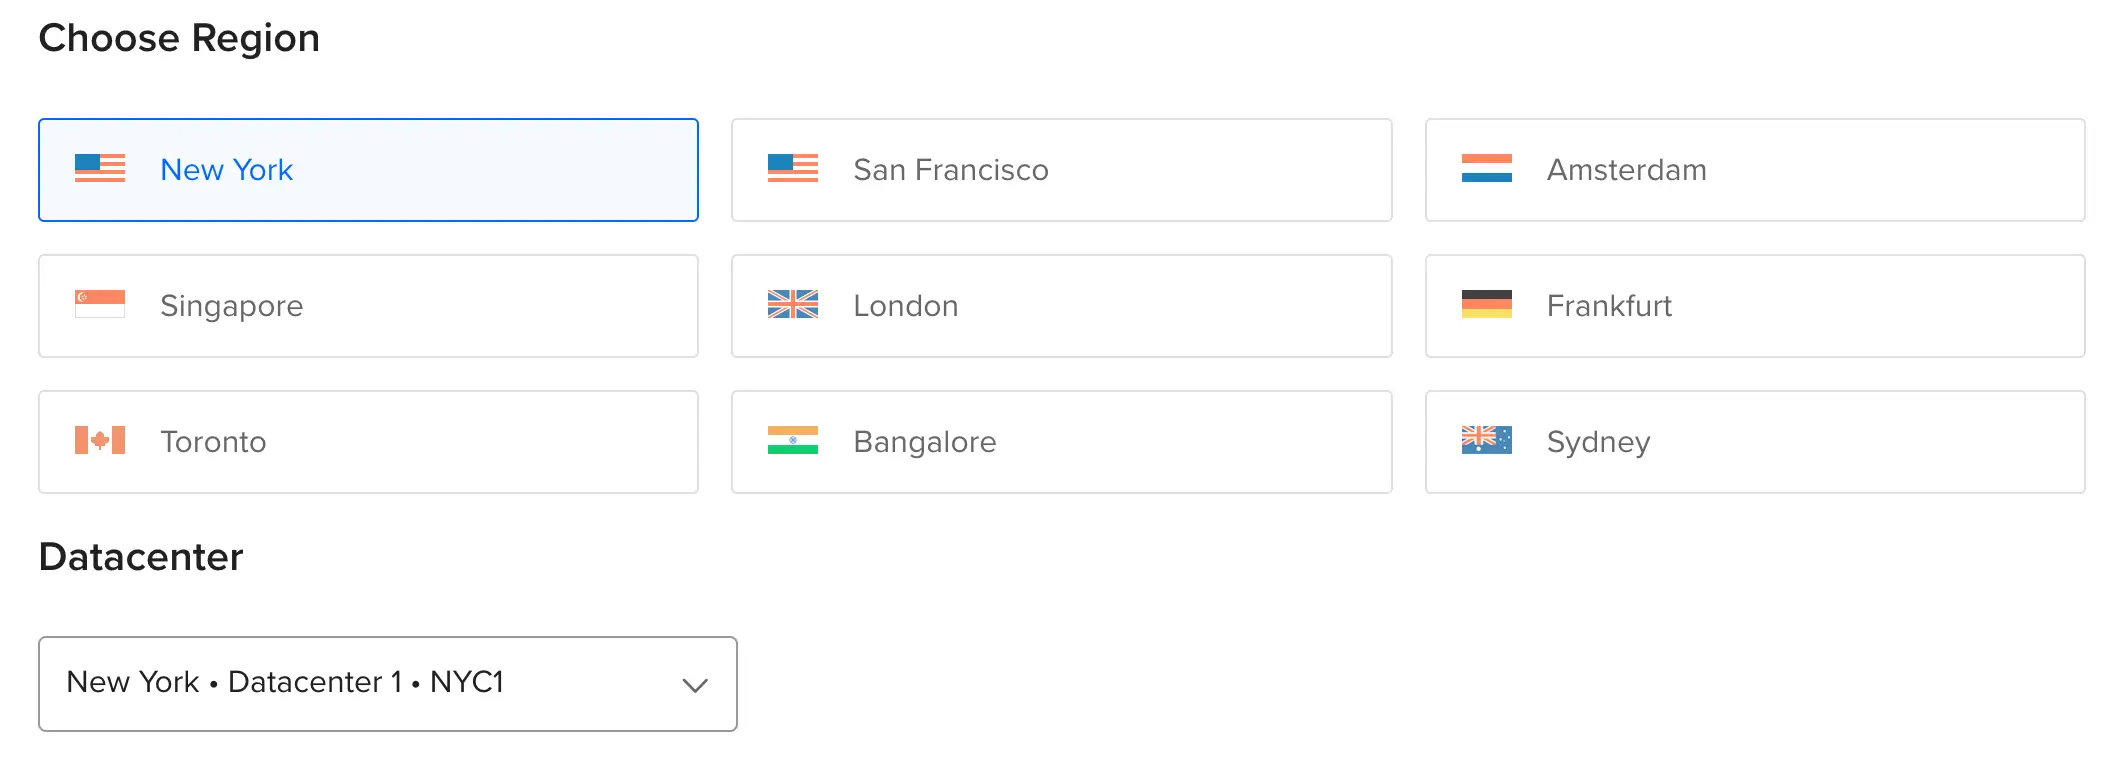
Step 4: Choose a Data Center Region
This refers to the physical location where your Droplet will be hosted. Choose a region that’s close to your target audience to ensure faster loading times.
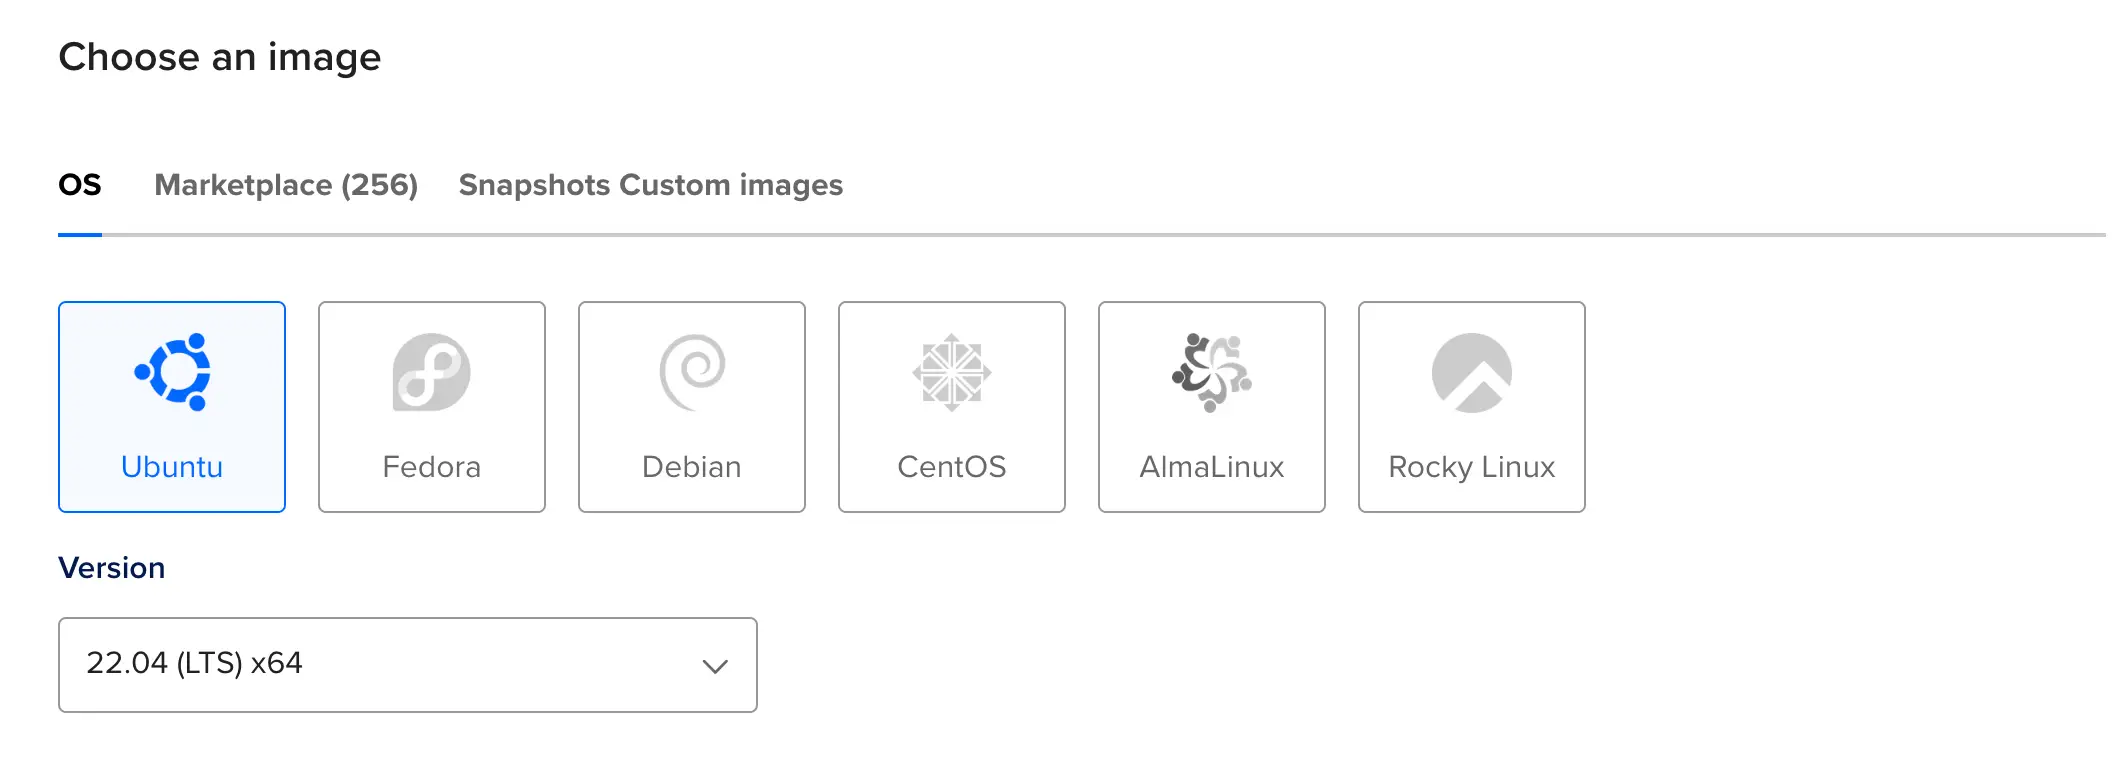
Step 5: Choose an Image
You’ll be asked to choose an operating system. You need to Select Ubuntu 22.04 LTS x64.
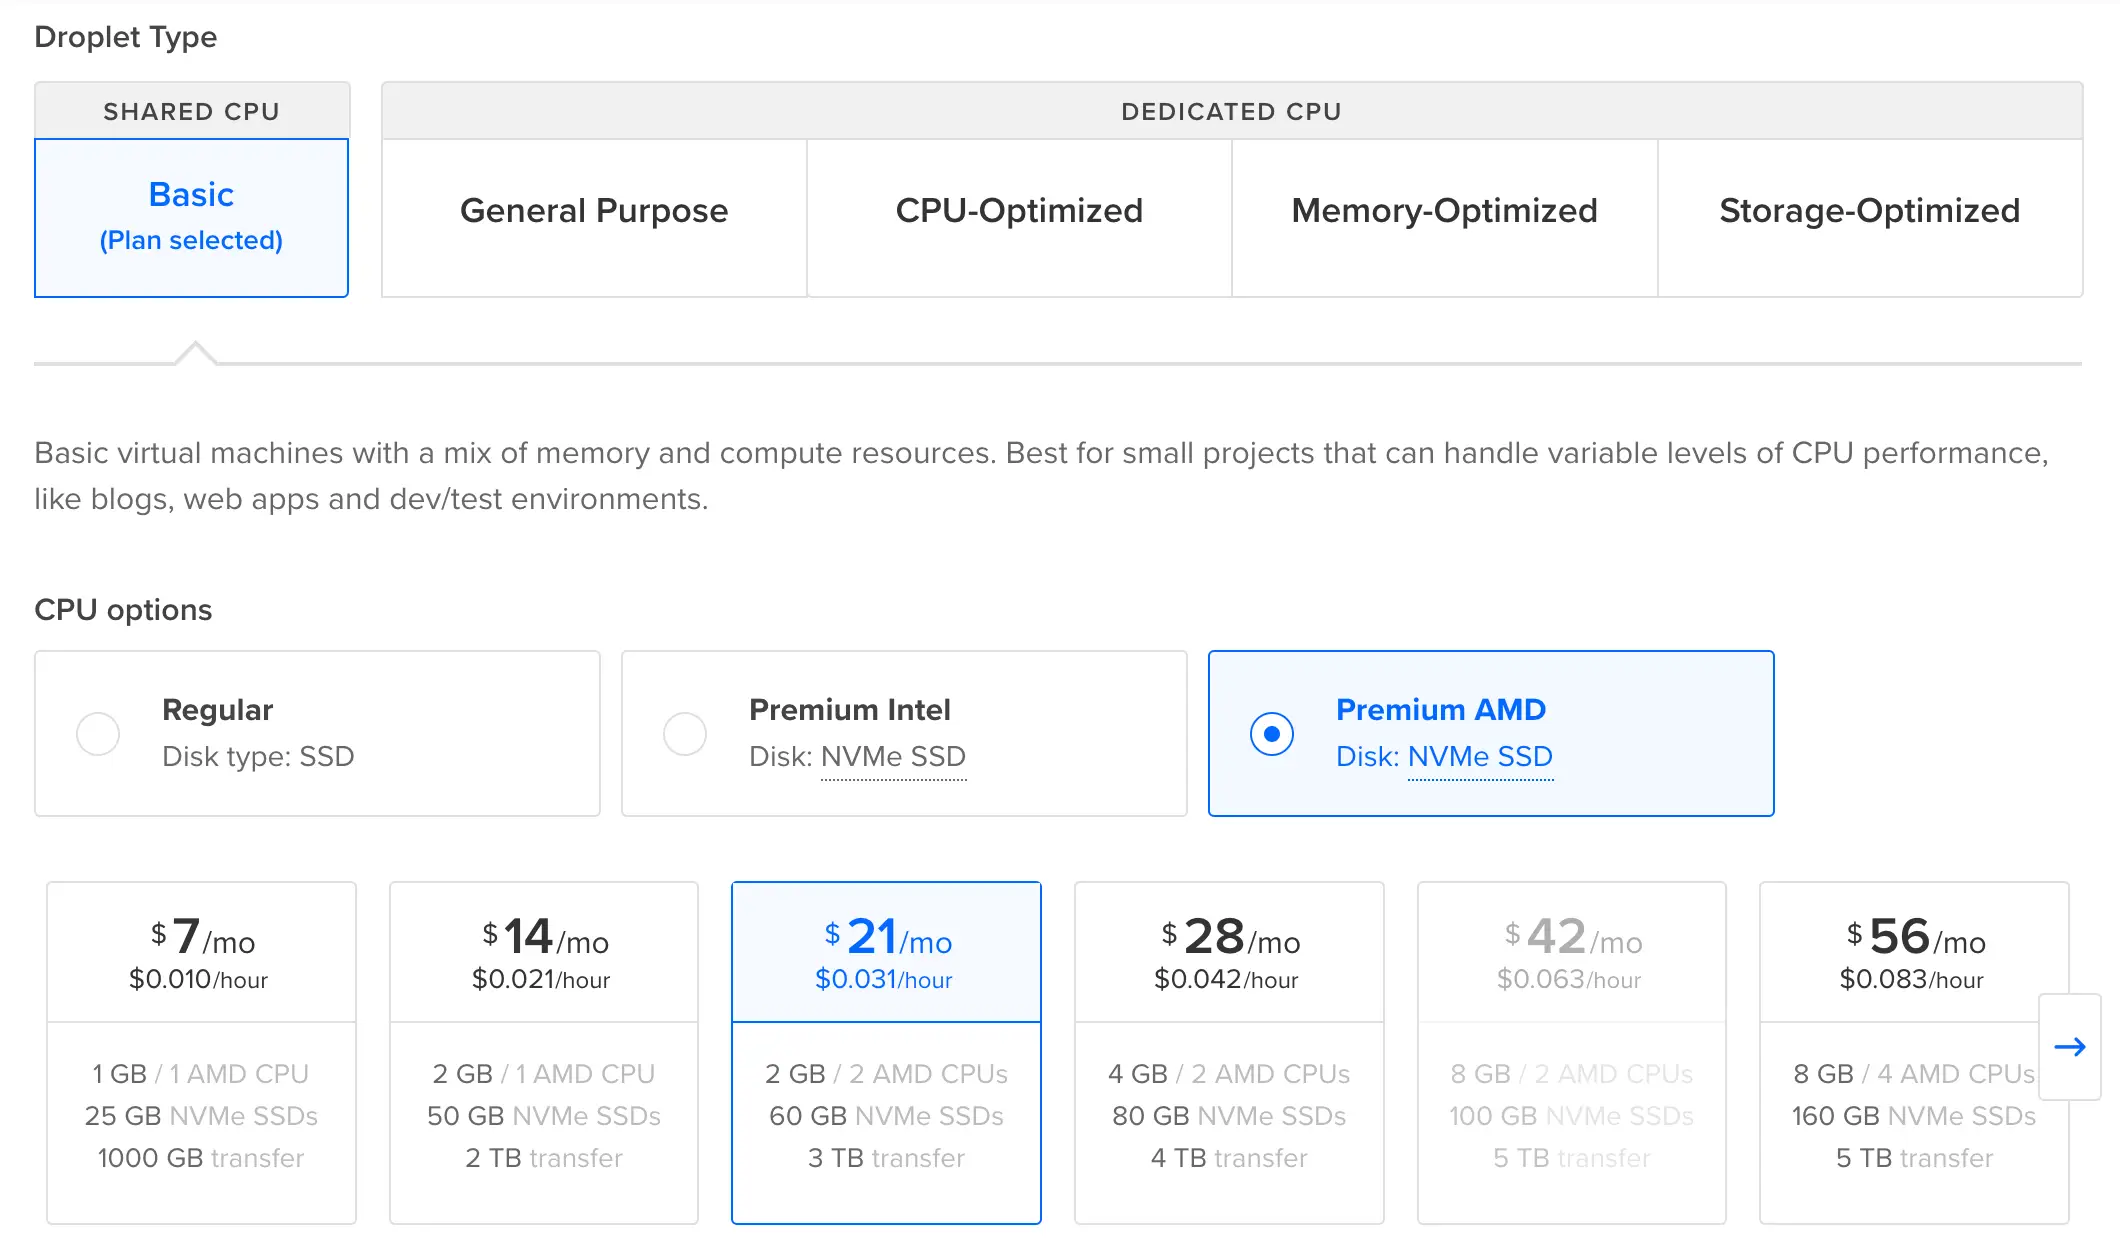
Step 6: Select a Plan
Next, decide on the size of your Droplet. For beginners, the Basic plan with the smallest size is often sufficient. As your needs grow, you can upgrade to a more robust plan.
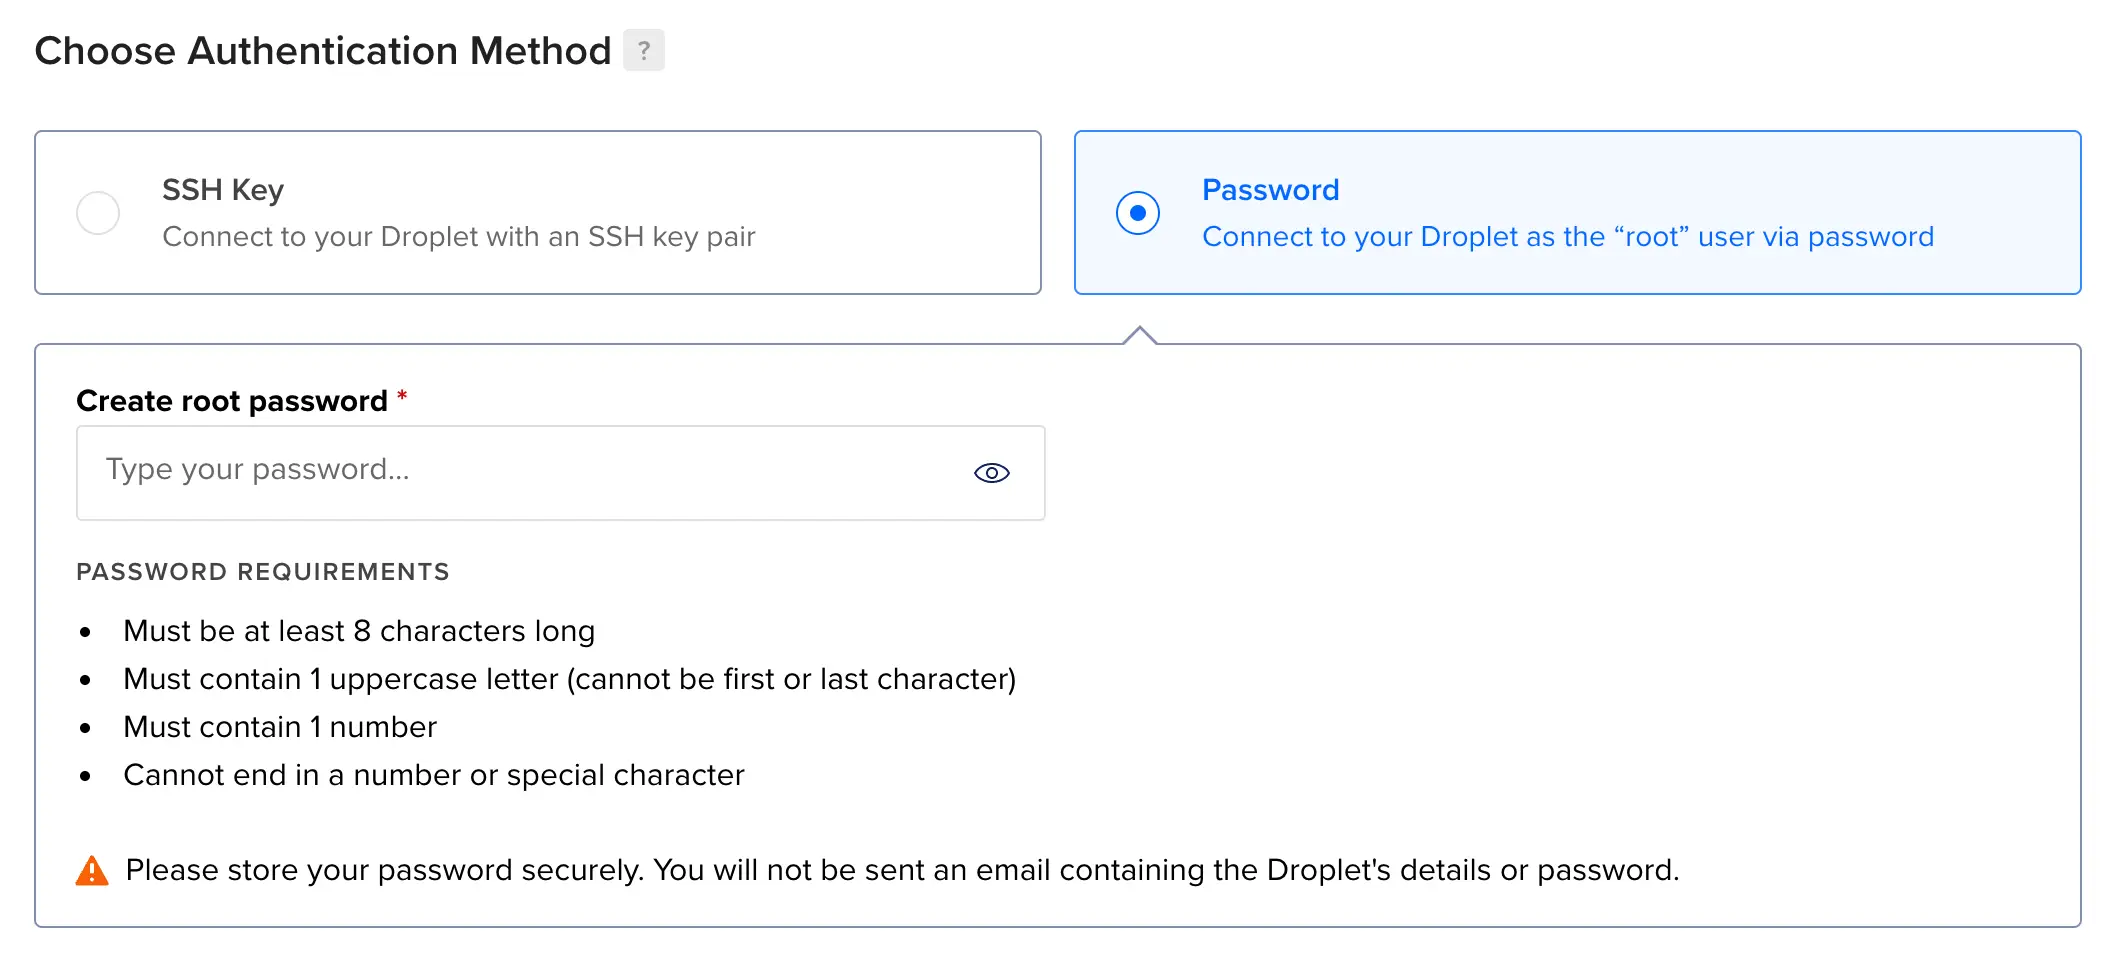
Step 7: Choose Authentication Method
Use your preferred password or Create an SSH Key for better security.
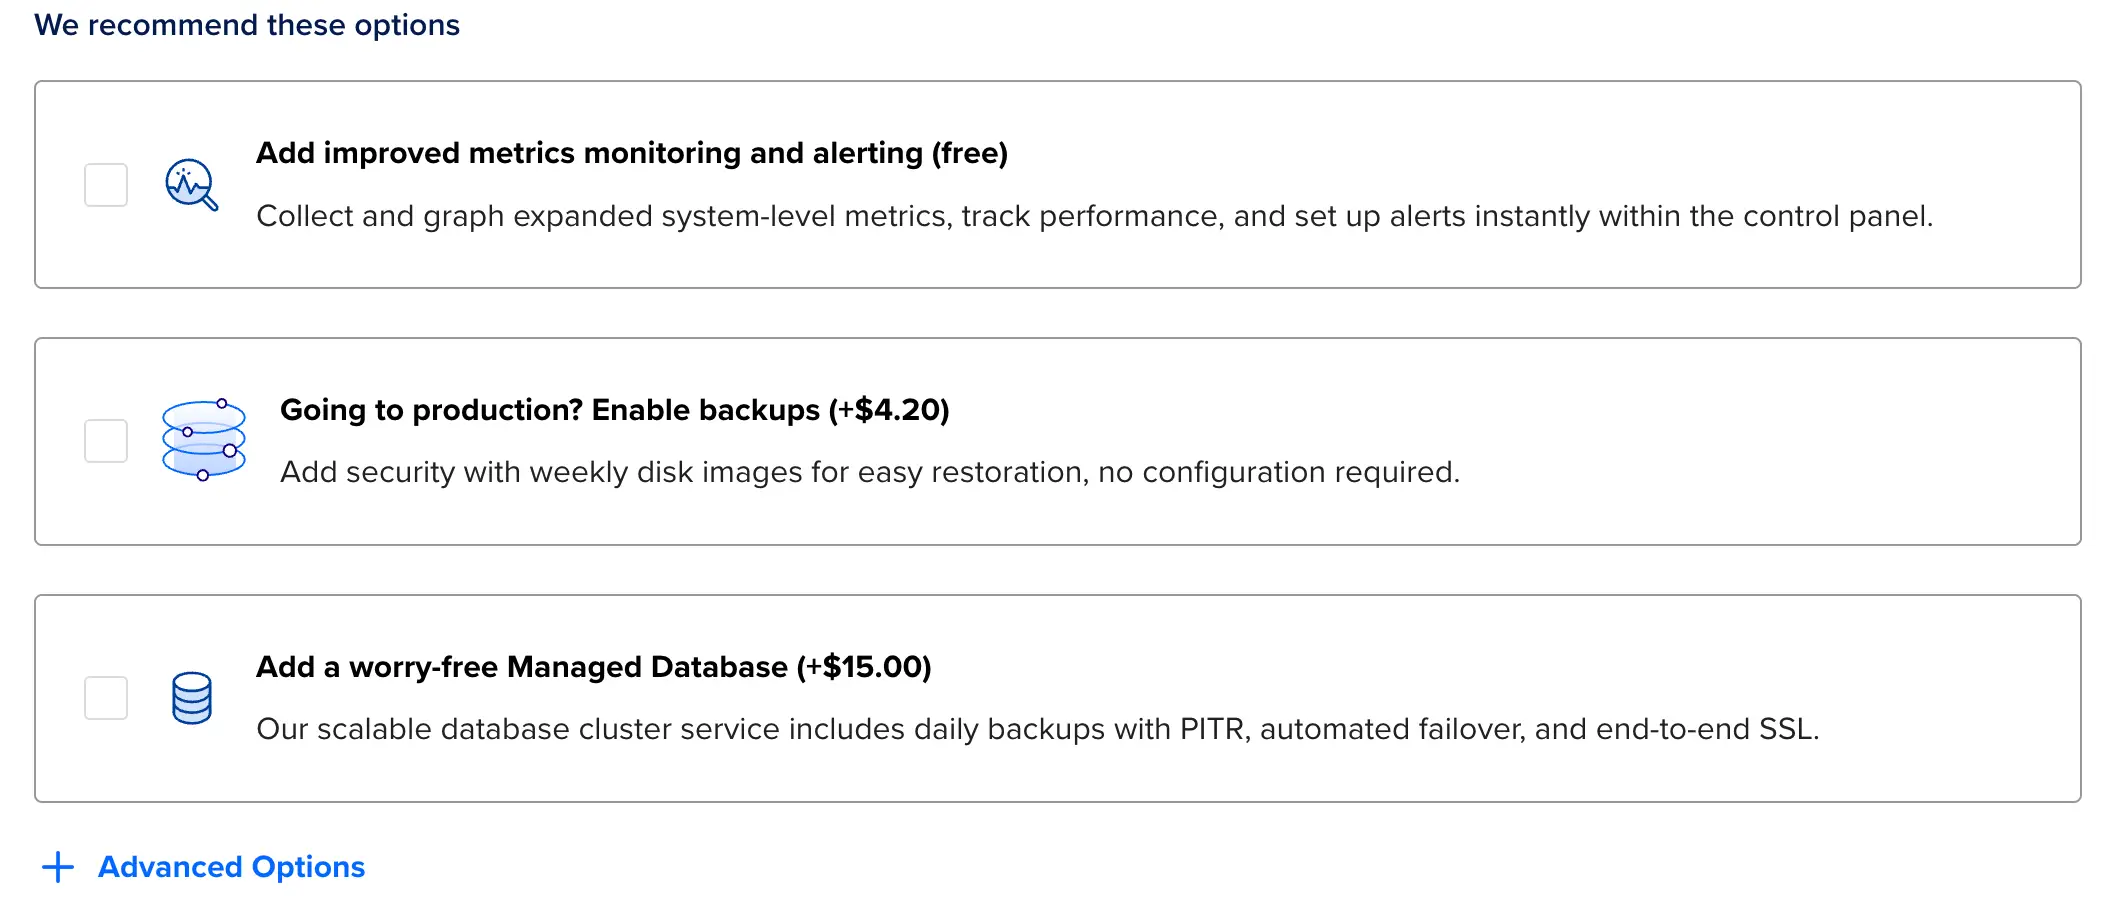
Step 8: Add Additional Options (Optional)
You can select additional features like monitoring, additional storage, or IPv6.
Step 9: Finalize and Create
Write a hostname for your Droplet, which is essentially its unique name. Choose the number of Droplets you want if it’s more than one.
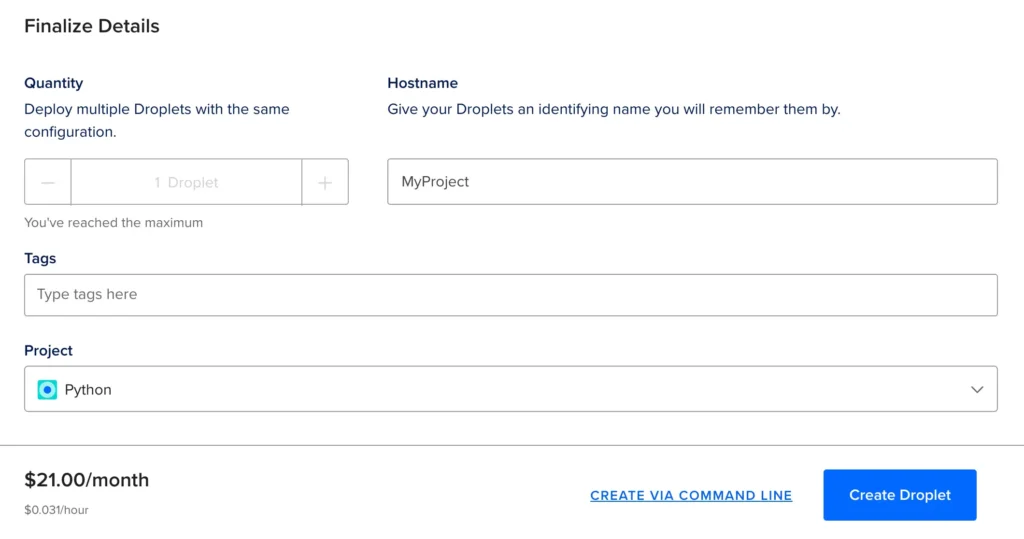
Review your selections, and when you’re ready, click the “Create Droplet” button. After a minute or two, your Droplet will be up and running! You can then access it using the IP address provided and begin setting up your website, application, or whatever else you have in mind.
How To Access Your Ubuntu Server
Now that your Droplet is up and running, it’s time to access it. This means you’ll be able to connect to and manage your virtual server.
- Find Your Droplet IP: From your DigitalOcean dashboard, locate the Droplet you just created. You’ll see its name and IP address listed there.
- Connect Using SSH: To interact with your Droplet, you can use SSH (Secure Shell). If you are using a Mac, open Terminal, or if you have Windows, you can use Putty.
- Log In: Use the following command to log in to your Droplet.
ssh root@your_droplet_ip- Replace
your_droplet_ipwith the IP address of your Droplet. You might need to confirm the connection by typing “yes” when prompted.

- Enter Your Password: You’ll be asked to enter your Droplet’s password. If you set up SSH key authentication, you might not need to enter a password.
- You’re In! Once you’ve successfully entered your password, you can access your Droplet’s command line and manage your server.
Congratulations! You’ve now accessed your Droplet and are ready to work with it.
How To Update Ubuntu Server
Regularly updating your Ubuntu server is crucial for security and ensuring you get the latest features and improvements. Here’s a step-by-step guide on how to update an Ubuntu server:
- Connect to Your Server: First, you’ll need to SSH into your server. You can do this from your terminal or command line interface:
ssh root@your_server_ip- Update Package Lists: Ubuntu maintains a list of packages from repositories, and this list needs to be refreshed to know which packages need an upgrade.
sudo apt update- Upgrade Installed Packages: Once the package list is updated, you can upgrade the installed packages to their latest version:
sudo apt upgradeThe system will list the upgraded packages and prompt you to continue. Press ‘Y’ and then ‘Enter’ to continue.
- Optional: Use the
dist-upgradeCommand: This command can be used to handle dependencies with newer versions of packages.dist-upgradeis more aggressive thanupgradeand will remove installed packages if necessary.
sudo apt dist-upgrade- Clean Up: After updating, some packages might be no longer required or have been superseded by others. To remove them and free up some space, run:
sudo apt autoremoveIf you want to remove the package files that were downloaded during the update process, you can also use:
sudo apt clean- Reboot (If Necessary): Some updates, especially kernel upgrades, may require you to reboot your server to apply the changes fully. If this is the case, you’ll likely see a message indicating this after your updates. To reboot:
sudo reboot- Check the Ubuntu Version: After updates, especially if you’ve done a distribution upgrade, you might want to check the current version of Ubuntu running. You can do this with:
lsb_release -aRegularly updating your Ubuntu server ensures that it remains secure, stable, and performs at its best. Remember to always back up critical data before major updates or upgrades to protect against potential issues.
How To Add, Remove, and Manage User Permissions
Managing users and their permissions is an essential task for system administrators. Here’s a guide on how to add, remove users and assign admin access (sudo privileges) on an Ubuntu system:
1. Add a New User:
To add a new user, use the adduser command:
sudo adduser newusernameYou will be prompted to set and confirm a password for the new user, followed by other optional information like user’s full name, phone number, etc.
2. Granting Admin (sudo) Access:
To give a user sudo privileges, they need to be a member of the sudo group. Use the usermod command to add the user to the group:
sudo usermod -aG sudo newusernameNow, the user newusername will have sudo privileges and can execute commands as the superuser using the sudo command.
3. Remove User:
If you need to delete a user, use the deluser command:
sudo deluser username_to_deleteNote: This command removes the user, but it doesn’t remove the user’s home directory. If you want to remove the user’s home directory and mail spool, use:
sudo deluser --remove-home username_to_delete4. Removing Admin (sudo) Access:
To remove sudo privileges from a user, you can use the gpasswd command or manually edit the /etc/sudoers file:
Using gpasswd:
sudo gpasswd -d username_to_remove_from_sudo sudoUsing visudo:
First, open the sudoers file:
sudo visudoFind the line that looks like:
username_to_remove_from_sudo ALL=(ALL:ALL) ALLRemove or comment out (by adding # at the beginning of the line) the line. Save and exit the editor.
Important Considerations:
- Always be cautious when editing the
/etc/sudoersfile. A mistake can prevent users from elevating permissions usingsudo. It’s recommended to always usevisudoto edit this file, as it checks for syntax errors. - Before removing a user, ensure that no critical processes are running under that user, and no critical data is stored in their home directory.
- Never delete the root user or the main administrative user unless you are certain about what you’re doing.
Regularly managing user access ensures the security and integrity of your system. Always ensure you have at least one user with administrative privileges to avoid getting locked out.
Conclusion
In conclusion, setting up an Ubuntu Droplet on DigitalOcean is a straightforward process that even beginners can easily navigate. This guide provided a comprehensive step-by-step breakdown from creating an account to accessing your newly set-up Droplet.
DigitalOcean’s intuitive interface and well-structured options make the experience seamless for users. Whether you’re looking to host a website, run applications, or any other server-centric task, DigitalOcean provides a reliable and efficient solution.
Now, armed with this guide, you’re prepared to harness the power of DigitalOcean’s Droplets and make the most of your virtual private server. Happy coding!